10 Outdoor Lighting Tips for Choosing the Best Lights
Outdoor Lighting does more than brighten a path. It shapes how a home feels after sunset, helps reveal steps and entrances, and can reduce wasted energy when chosen carefully. The U.S. Department of Energy’s 2016 report, Energy Savings Potential of Solid-State Lighting in General Illumination Applications, estimated that outdoor lighting used about 1.3 quadrillion Btu of energy annually in the United States. That figure gives every fixture a practical role—and makes efficiency worth considering.
The best choice depends on the space. A narrow side path may need low, shielded lights, while a porch benefits from comfortable illumination near the door. Color temperature, beam direction, weather resistance, controls, and maintenance all matter. The International Energy Agency has reported that lighting accounts for roughly 15% of global electricity consumption; that figure covers lighting broadly, not outdoor fixtures alone. Still, it shows why small decisions can add up. Small choices matter.
This guide shares 10 Outdoor Lighting tips for comparing fixtures and planning a balanced setup. You’ll learn how to match brightness to the task, avoid harsh glare, and use timers or motion sensors thoughtfully. A mistake I still see is choosing a light by appearance alone. A beautiful fixture can cast a poor beam. Check the product specifications, consider the surface it will illuminate, and test the effect at night when possible. The right setup is rarely the brightest one.
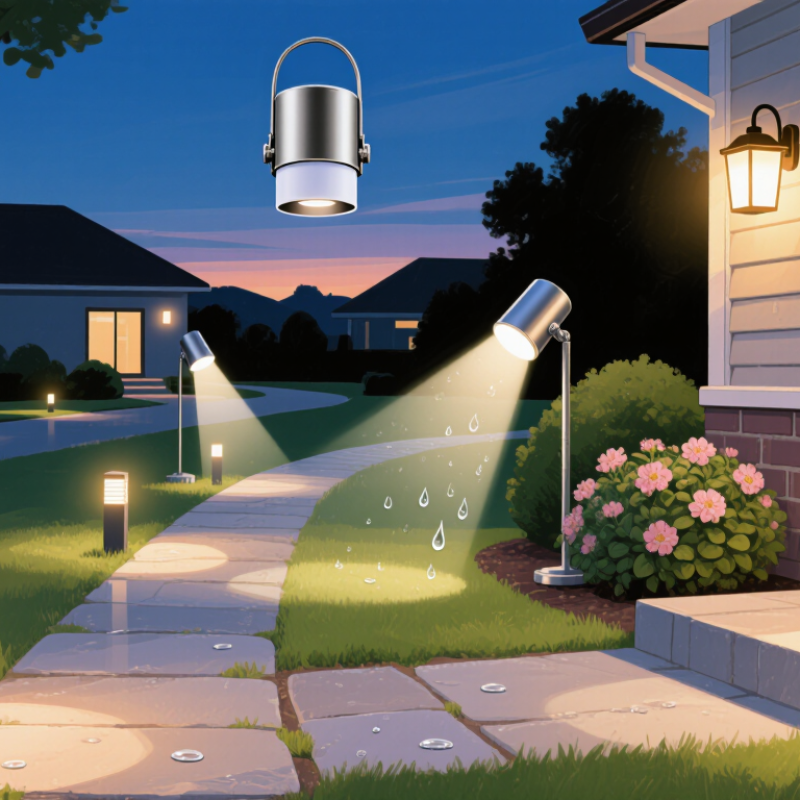
Assess Outdoor Areas and Define Their Lighting Needs
Map each outdoor area after dusk and identify what people need to do there. A front step needs clear footing; a patio needs comfortable faces and visible table surfaces. A side path may need only low-level guidance. Note nearby bedroom windows, reflective walls, trees, and places where light could spill into the sky. Start with purpose. A 2016 study in Science Advances, “The New World Atlas of Artificial Night Sky Brightness,” estimated that more than 80% of the world’s population lives under light-polluted skies. That finding is a useful reminder: brighter is not automatically better.
Tip: Walk each route at night. Mark dark steps, glare, and shadows on a simple sketch. Choose shielded fixtures aimed at the task, then use separate controls for areas with different schedules. Keep a little darkness.
Estimate coverage before choosing brightness. A wide beam may illuminate a patio evenly but cause glare near a window; a narrow beam may leave gaps along a path. Check the manufacturer’s beam-angle and lumen information against the actual mounting height. Then test the layout after installation. Plans are imperfect; a fixture that looks modest on paper can feel harsh at eye level. Adjust its angle or output before adding another light.
Choose Fixture Types for Each Outdoor Function
Match each fixture to the task, not just the look of the house. At a front door, a shielded wall light helps visitors find the lock without shining into their eyes. Along steps, low, downward-facing lights reveal edges and reduce harsh glare. Keep them modest. For seating areas, use softer, indirect light that makes faces visible without flattening the space. A broad floodlight may seem convenient, but it can spill onto neighboring windows and obscure details through glare.
For security, aim a shielded fixture toward entry points and pair it with a motion sensor or timer. This avoids leaving a bright light on all night. The 2016 World Atlas of Artificial Night Sky Brightness, published in Science Advances, estimated that more than 80% of the global population lived under light-polluted skies. That figure is a useful reminder: outdoor lighting affects more than one yard. Choose warm-colored lamps and direct light downward where possible. One easy-to-miss detail is the surface itself; pale paving reflects more light than dark stone, so the same fixture can feel unexpectedly bright. Check the effect after dark, then adjust. I would not assume the first placement is right.
Compare Brightness, Color Temperature, and Light Distribution
Start with the task, not the fixture’s wattage. Lumens indicate visible light output; watts indicate energy use. A narrow garden path may need less light than a wide patio. I test placement after dusk with a temporary light, then walk the route. Look for dark gaps and glare at eye level. Too bright can be uncomfortable. Mounting height and nearby pale walls also affect how much light reaches the ground.
Color temperature, measured in kelvins, changes the mood and appearance of outdoor spaces. Warm white light often feels softer near seating, while cooler light can make steps and work areas look clearer. Neither choice is automatically better. Compare samples against your paving and plants; green leaves can look oddly flat under some lights. Distribution matters just as much as brightness. A shielded downward beam can illuminate a path without shining into a neighbor’s window, while a wide beam may suit an open patio. Check the beam pattern on the actual surface, not only in a product diagram. I once focused too much on lumen numbers and missed an uneven pool of light beside a step. That was a useful mistake. Keep the light where it serves a purpose.
Check Weather Resistance, Energy Use, and Maintenance Needs
Outdoor lights face more than rain. Wind-driven water, dust, frost, and salty air can shorten their life. Check the fixture’s IP rating and choose one suited to its location. A covered porch needs less protection than an exposed garden path. IP65 fixtures resist dust and water jets, but they are not made for submersion. Check the maker’s installation guidance, too; a good rating cannot compensate for a poorly sealed cable entry.
Compare brightness in lumens rather than judging energy use by watts alone. Efficient LED fixtures can provide useful light with less electricity, while a timer or motion sensor can reduce hours of operation. Solar lights may work well in sunny spots, but shaded winter gardens often leave them dim. That trade-off is easy to overlook.
Plan for maintenance before buying. Look for accessible lenses, replaceable components, and fittings that can be cleaned without special tools. Leaves, insects, and mineral spots can cloud a lens, so wipe it gently and inspect seals for cracks each season.
Small chores. Still, they matter.
I’d avoid assuming that “weatherproof” means maintenance-free; even durable fixtures need occasional checks, and the right schedule depends on local weather.
Plan Fixture Placement, Controls, and Electrical Safety
Outdoor lighting works best when each fixture has a clear job. Mark paths, steps, doors, and seating areas at dusk before choosing locations. A low light near a stair edge can reveal the tread without shining into anyone’s eyes. Aim wall fixtures toward the ground, and check sightlines from inside nearby windows. Spacing every few feet is not a rule; trees, glare, and dark gaps change the plan. I’d revise a layout after one evening test. A spot that looks perfect by day may feel harsh at night.
Tips: Place path lights slightly beside the walking line, not directly in it. Use a shielded beam near neighbors. Choose fixtures rated for wet or damp locations when exposed to those conditions. Glare matters.
Put controls where they’re easy to reach. A timer or photosensor can reduce nightly switching, while dimming keeps a patio comfortable rather than glaring. Test sensors at dusk. Moving plants can trigger some sensors, which gets annoying quickly. For electrical safety, use outdoor-rated wiring and enclosures, protect applicable circuits with GFCI, and seal connections against moisture. Never bury or splice cable casually. Follow fixture instructions and local requirements, and ask a qualified electrician to handle new circuits or uncertain wiring. Turn power off at the breaker before replacing a fixture, then verify it is off with a tester.
Outdoor Lighting: Typical Lumen Output by Fixture
Use these approximate output ranges as a starting point when planning fixture placement. Actual needs depend on fixture optics, mounting height, and surrounding light; these values are guidance, not required standards.
Choose lower outputs for close-range path and step lighting, and aim brighter fixtures carefully to limit glare and light spilling into neighboring areas. Use outdoor-rated fixtures and follow local electrical codes; consult a qualified electrician for wiring.